How to Print
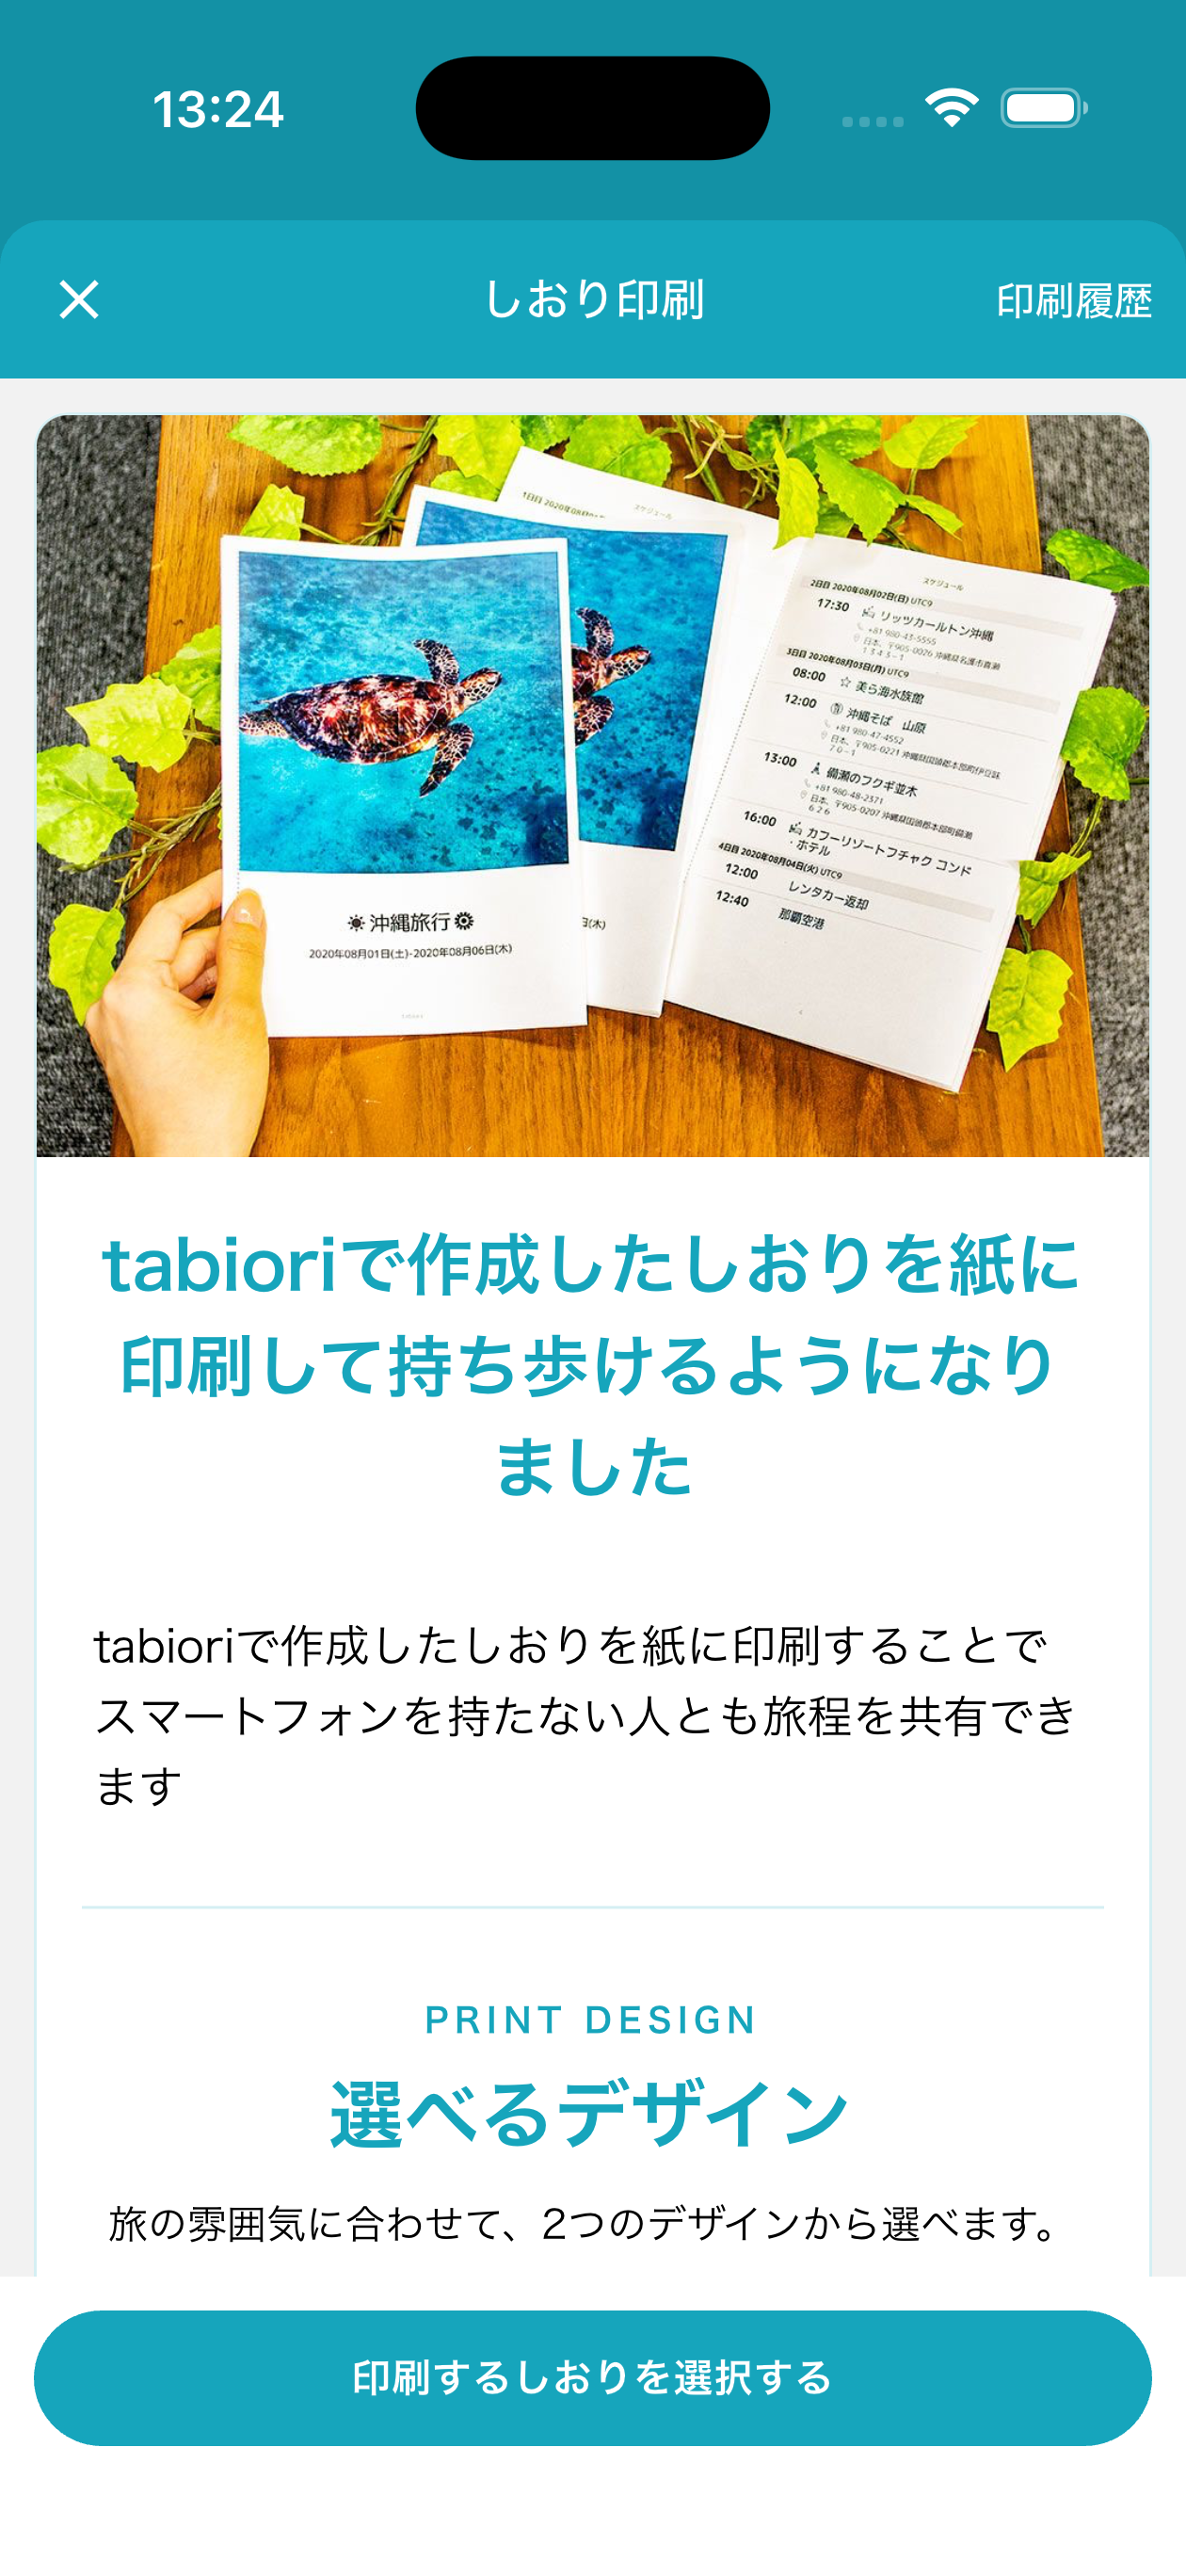
Under Itinerary Info, tap Print Itinerary. Review the usage guide, then tap Publish a Print Preview.
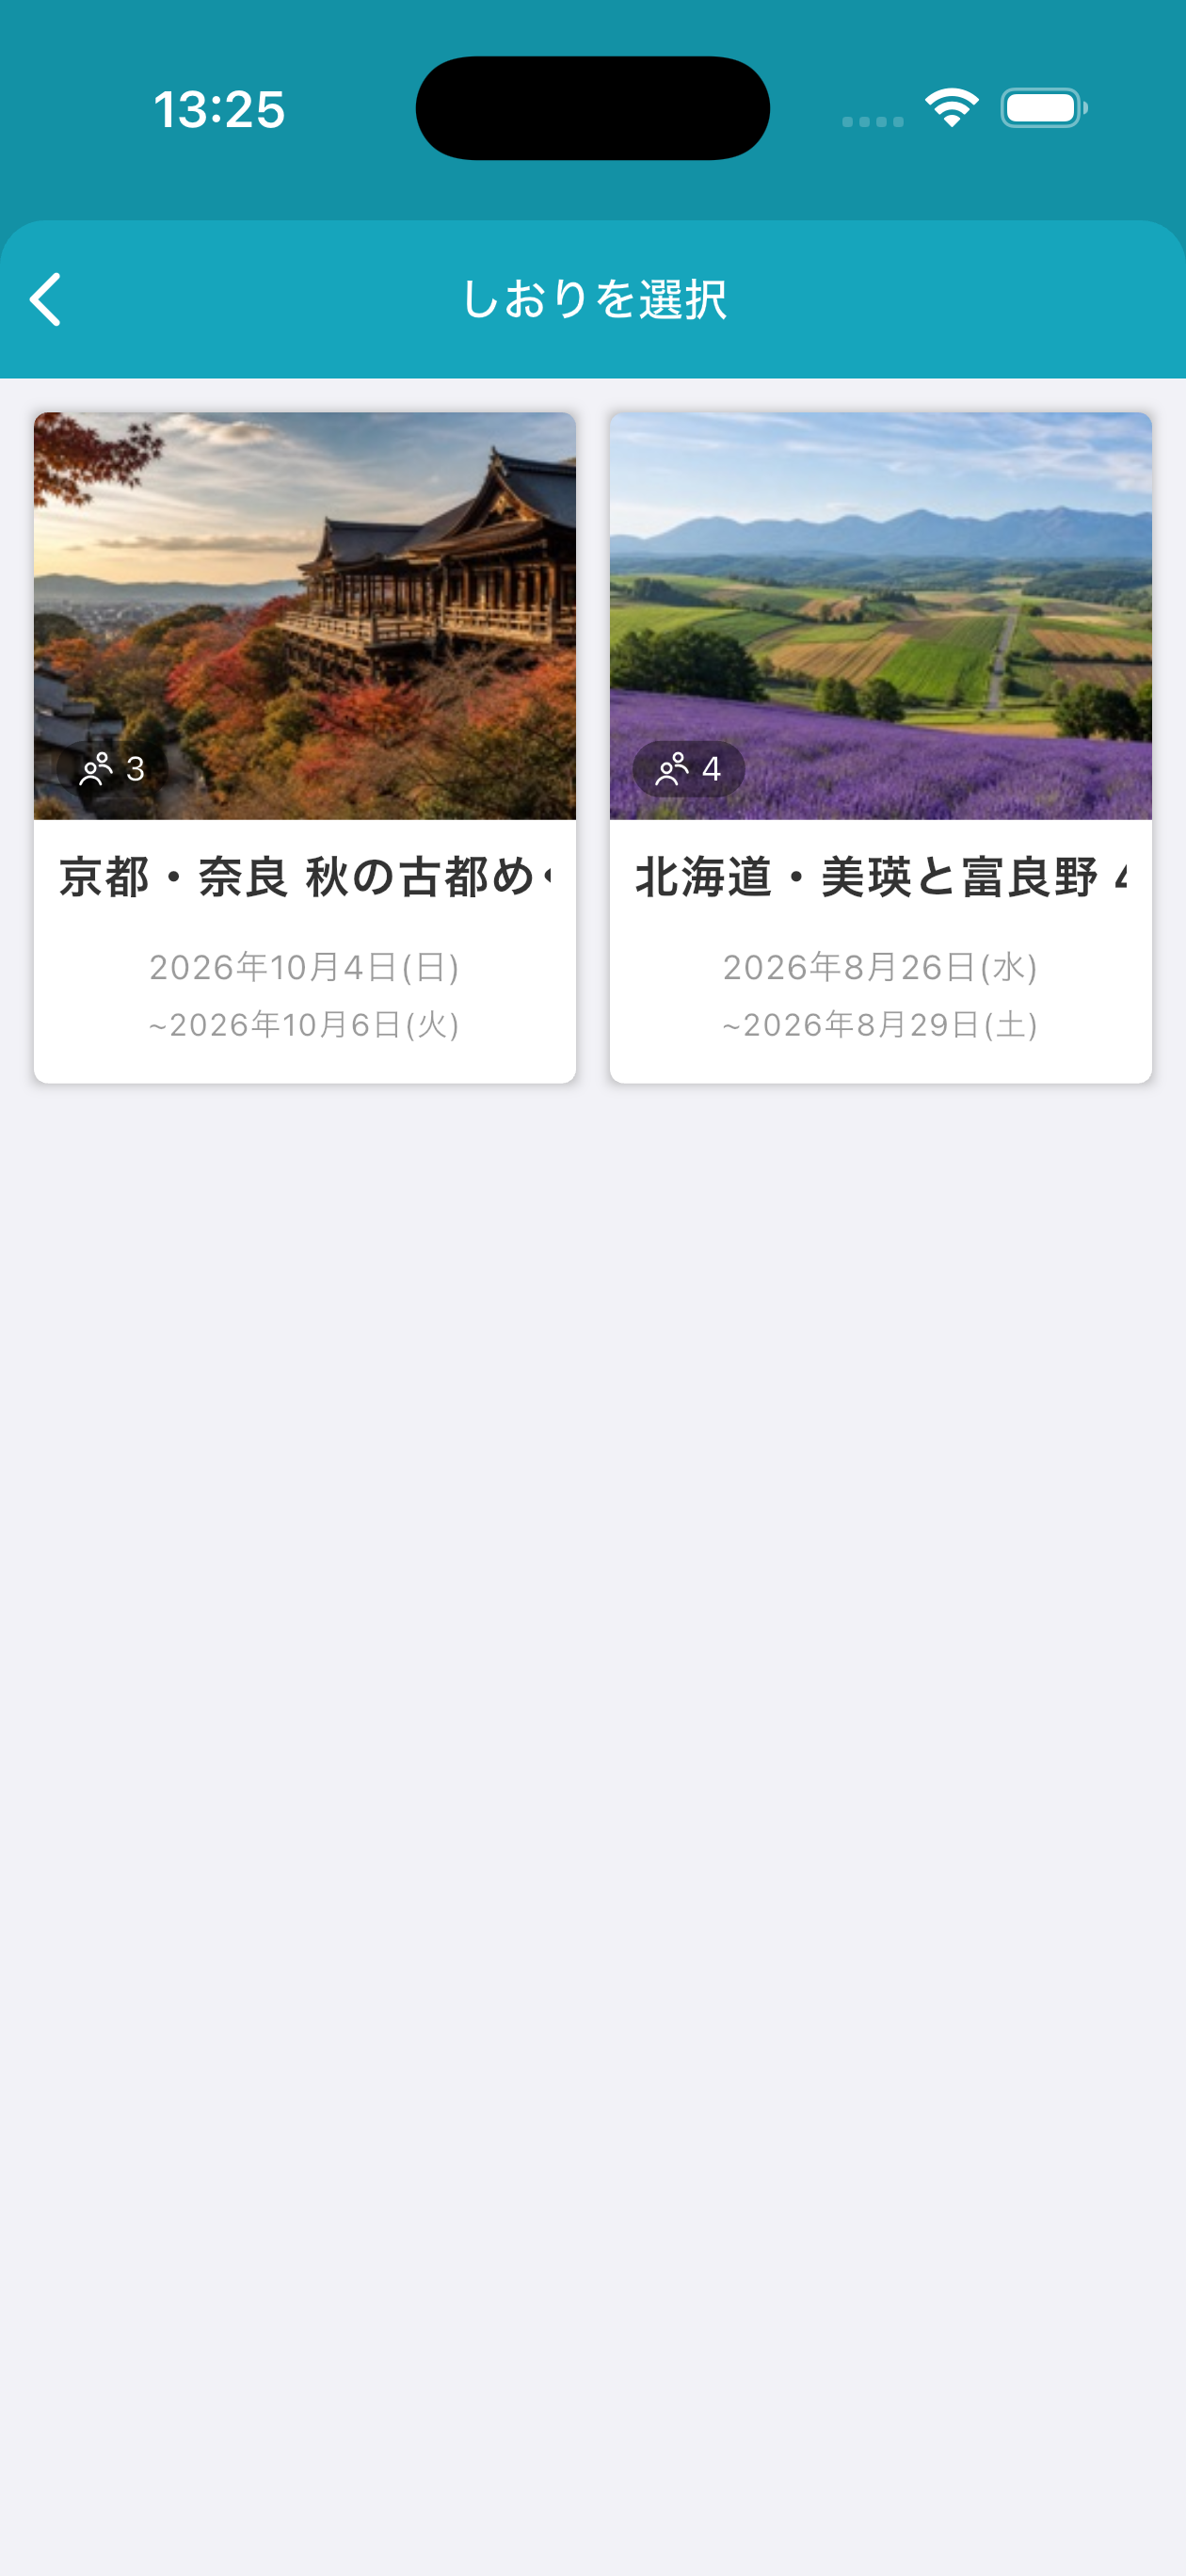
If you opened the printing screen without an itinerary selected, choose the itinerary you want to print.
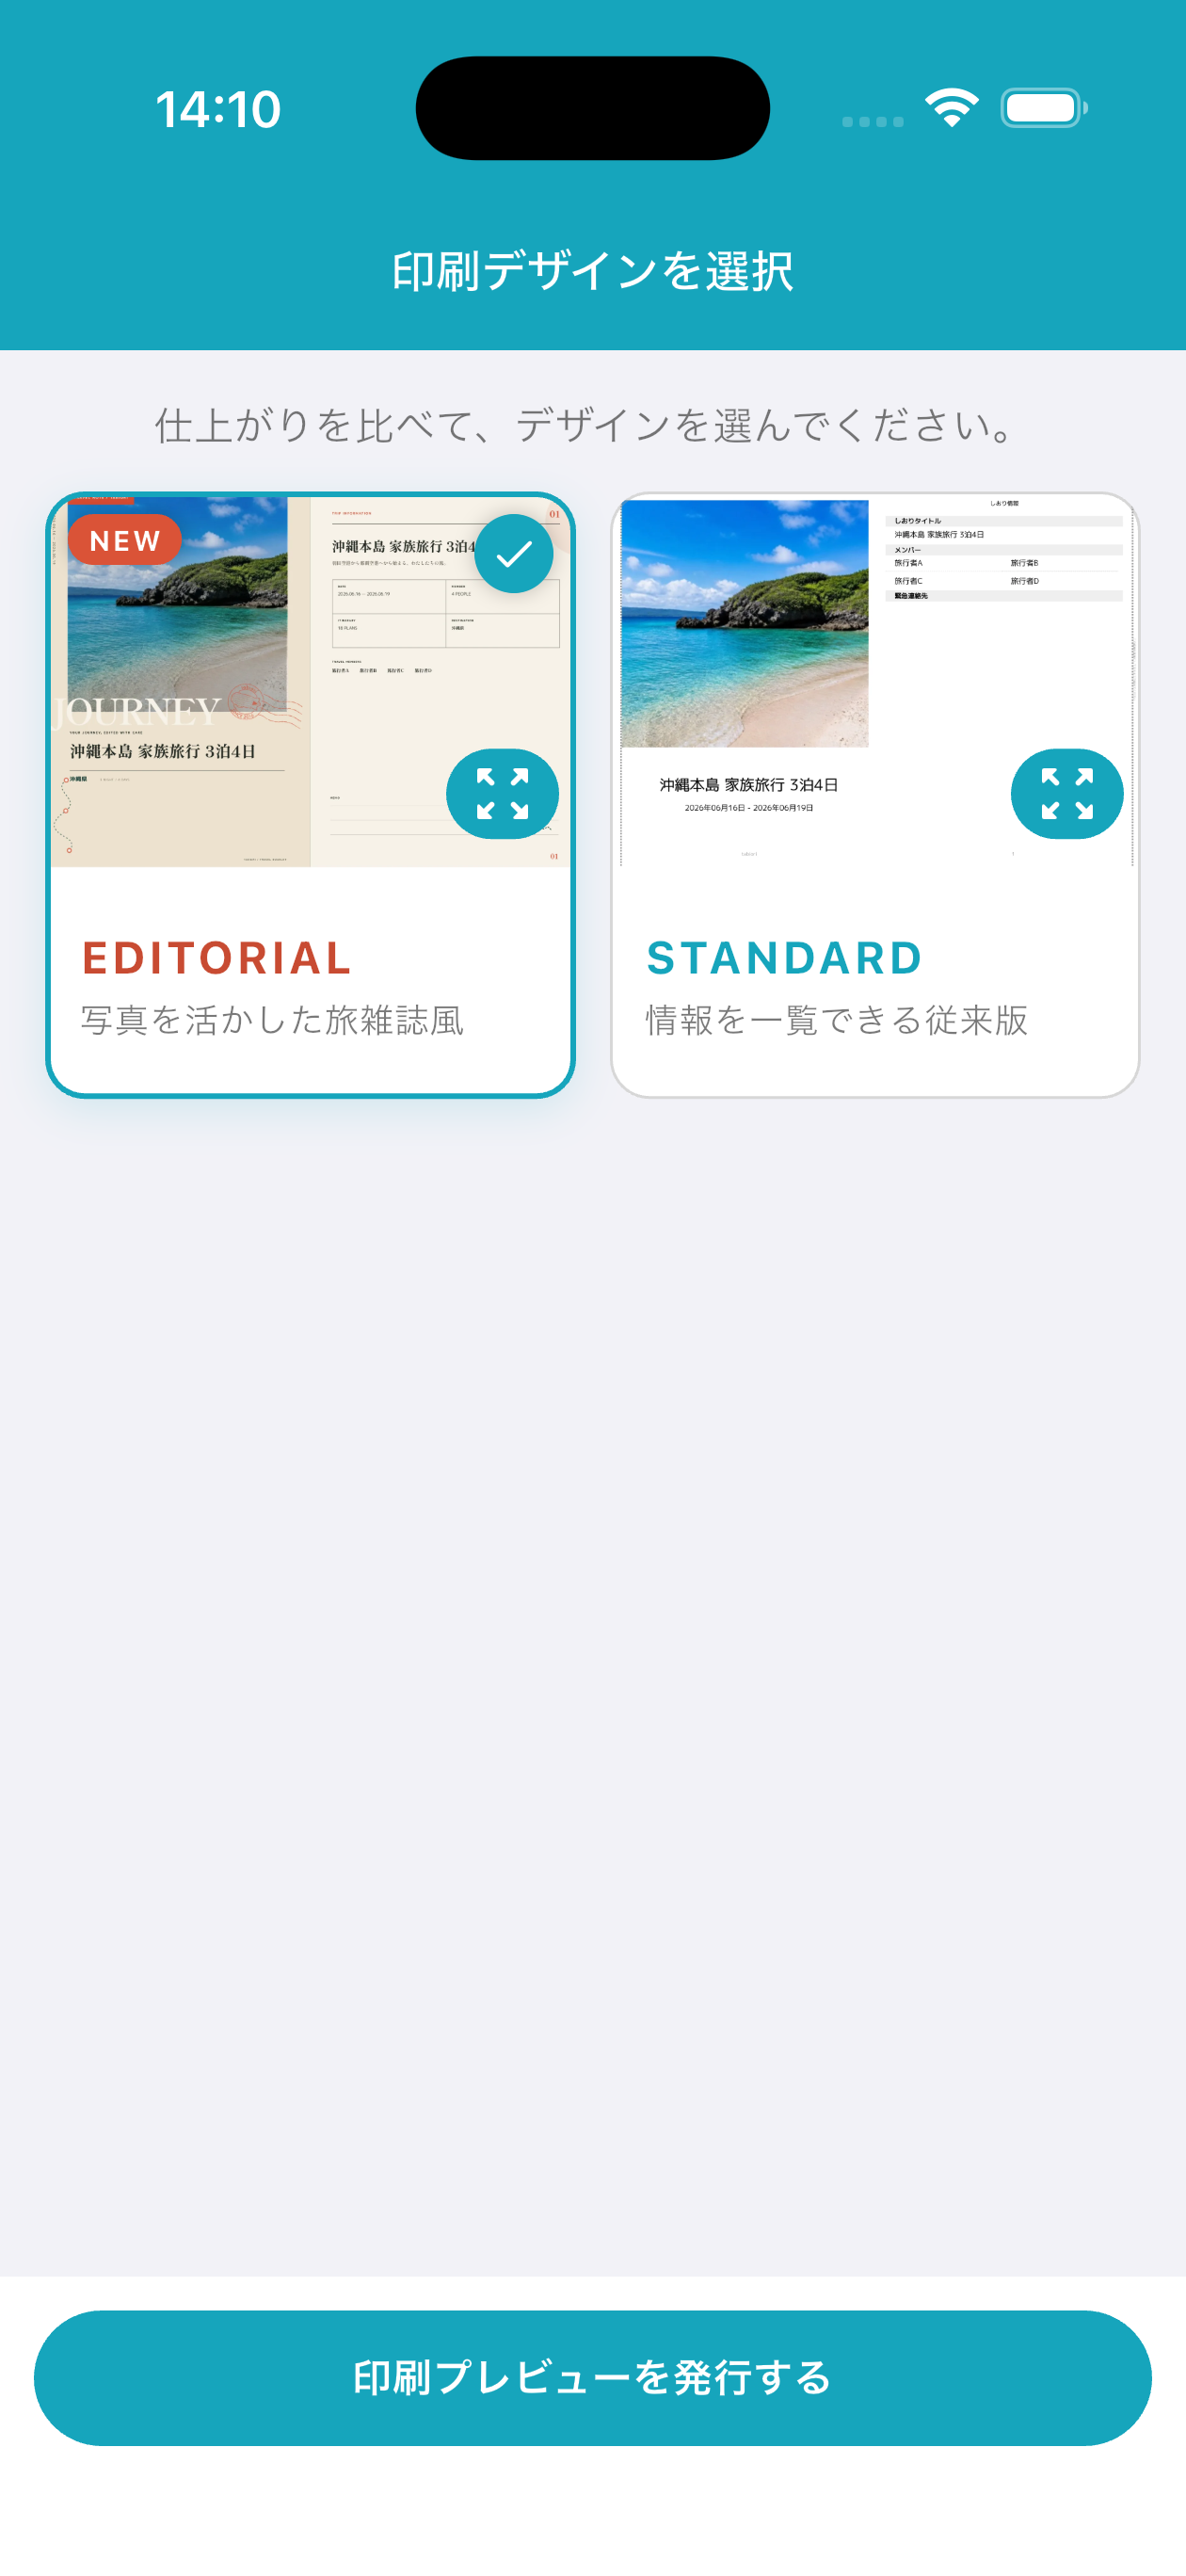
Compare the finishes and choose a design. EDITORIAL (Travel-magazine style featuring your photos) / STANDARD (The classic layout with information at a glance)
Publish a print preview
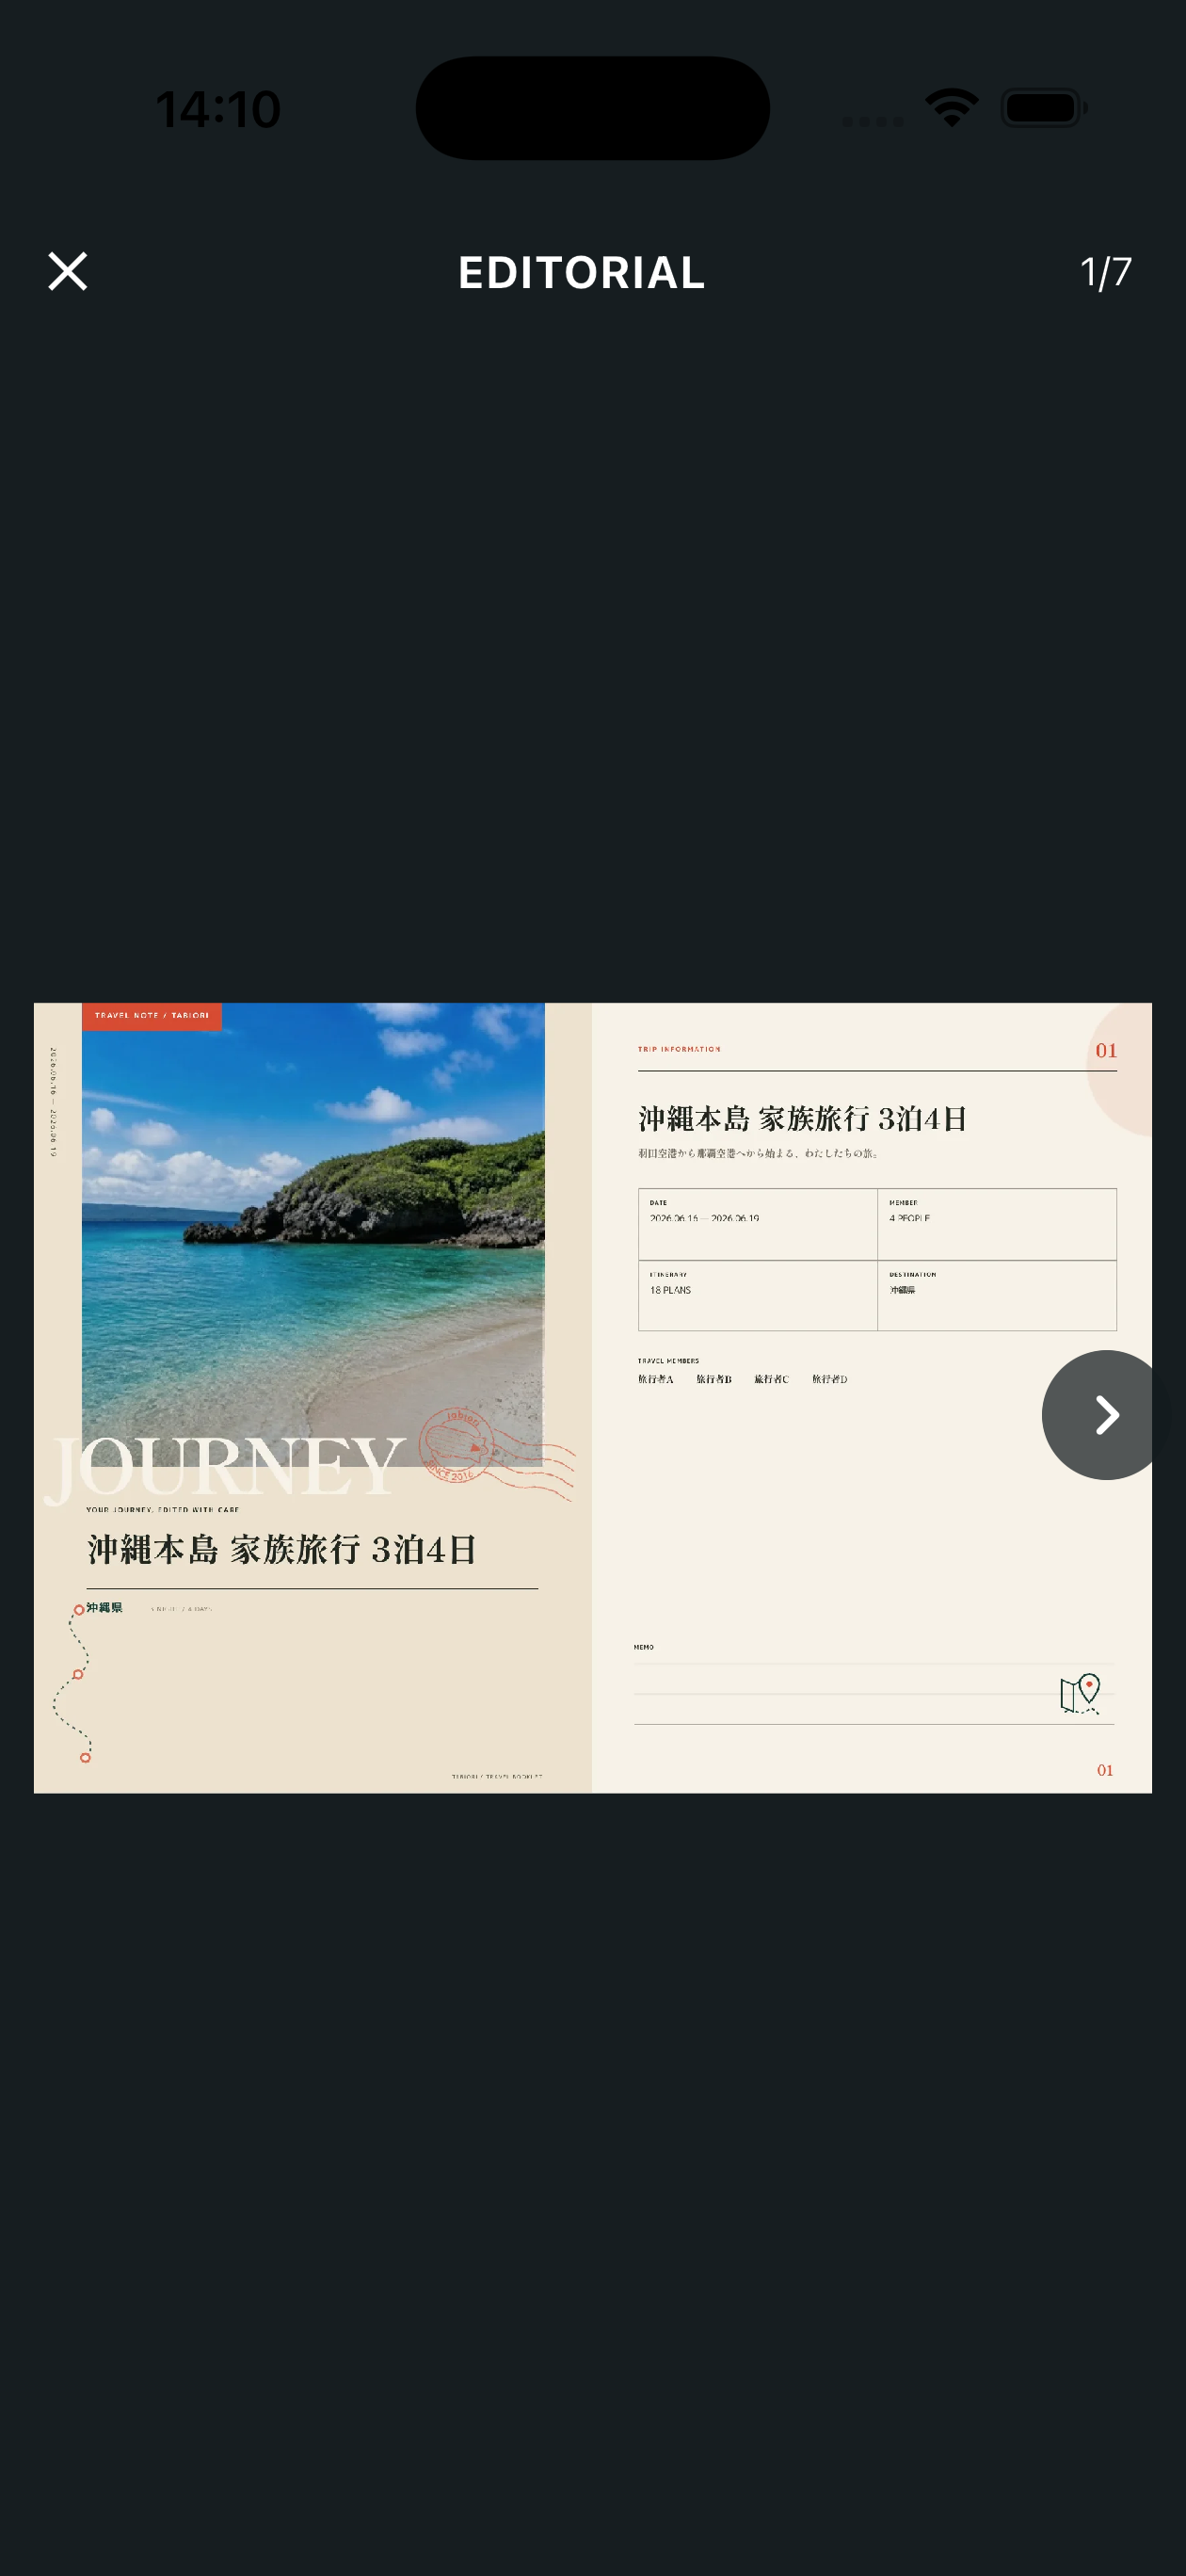
Swipe left or right to move between preview pages, and pinch to zoom. After checking the content, follow the on-screen instructions to proceed to payment.
Before printing at a convenience store
The print-data submission fee is ¥299 (tax included). * Printing at the store costs extra. The User Number is valid for 5 days from issue. If there is a large amount of data, the print job may be split into multiple files. Use the same User Number to print every file at the store. Please print the desired number of copies after entering the user number on the multi-copy machine at any convenience store of Lawson, Family Mart, or Seiko Mart.
How to Check Print Number
After launching the app, go to the Store tab from the itinerary list screen.
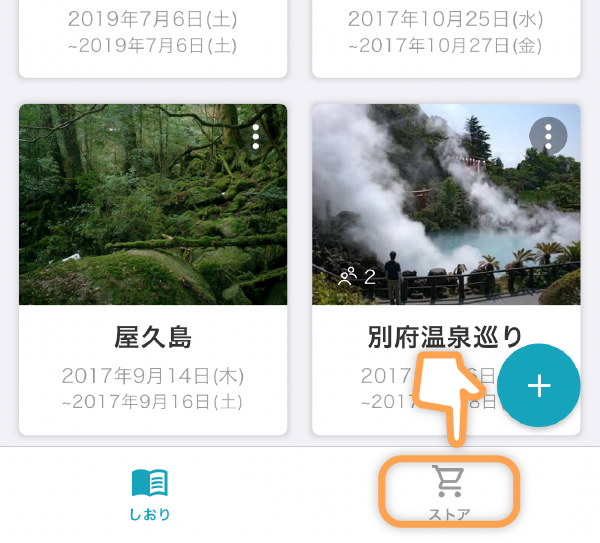
Then tap on Itinerary Printing.
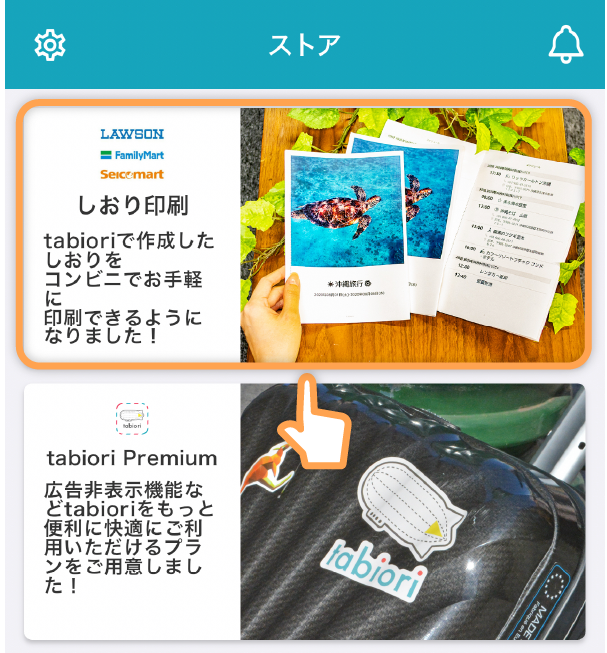
Next, tap on Print History in the top right.
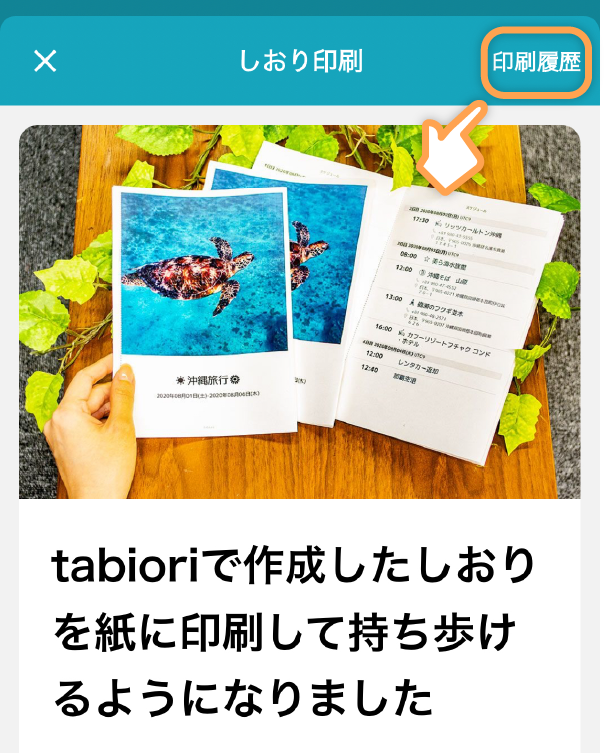
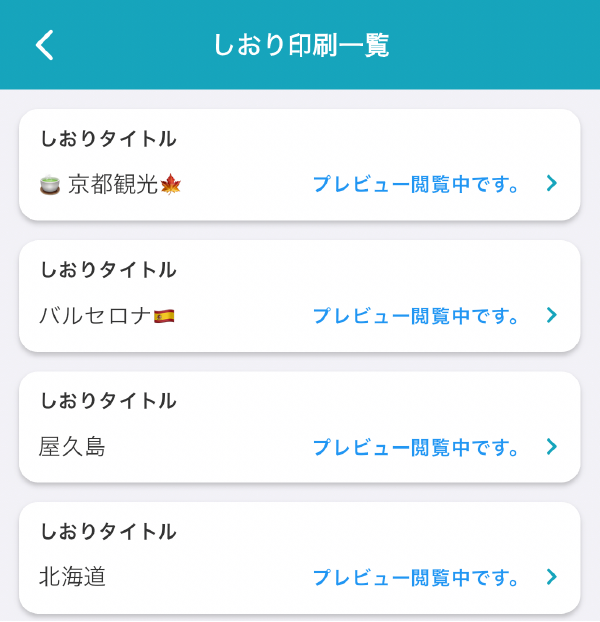
Itineraries with print previews will be displayed, so tap on the itinerary you want to check the status or print number for.
Print from Home PC using WEB version of tabiori
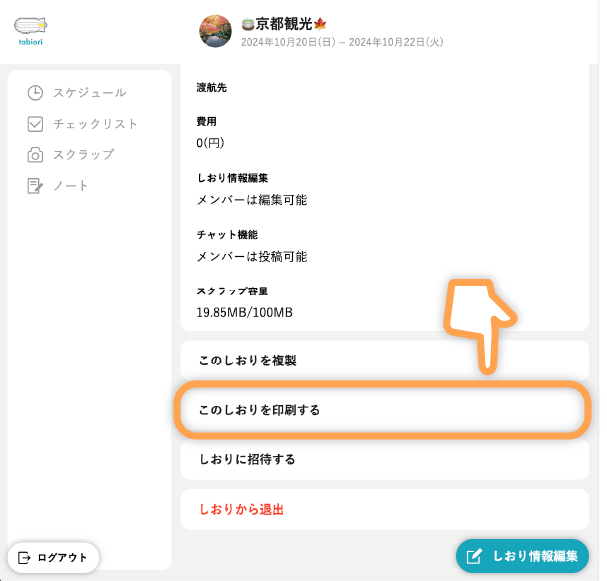
Click "Print this Itinerary" from the itinerary information page of the itinerary you want to print.
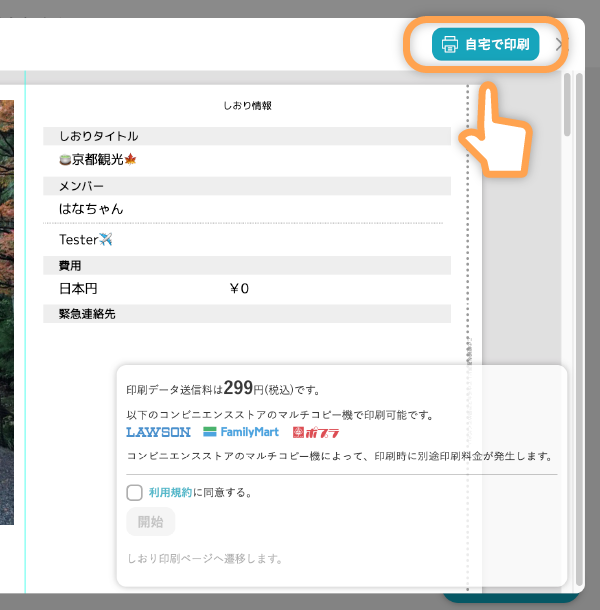
Click "Print at Home" in the top right of the preview window to print the itinerary using your home printer.
This feature is available to tabiori Premium subscribers
How to Bind After Printing
Mountain-fold each printed sheet along the vertical centreline so that the printed side faces outward.
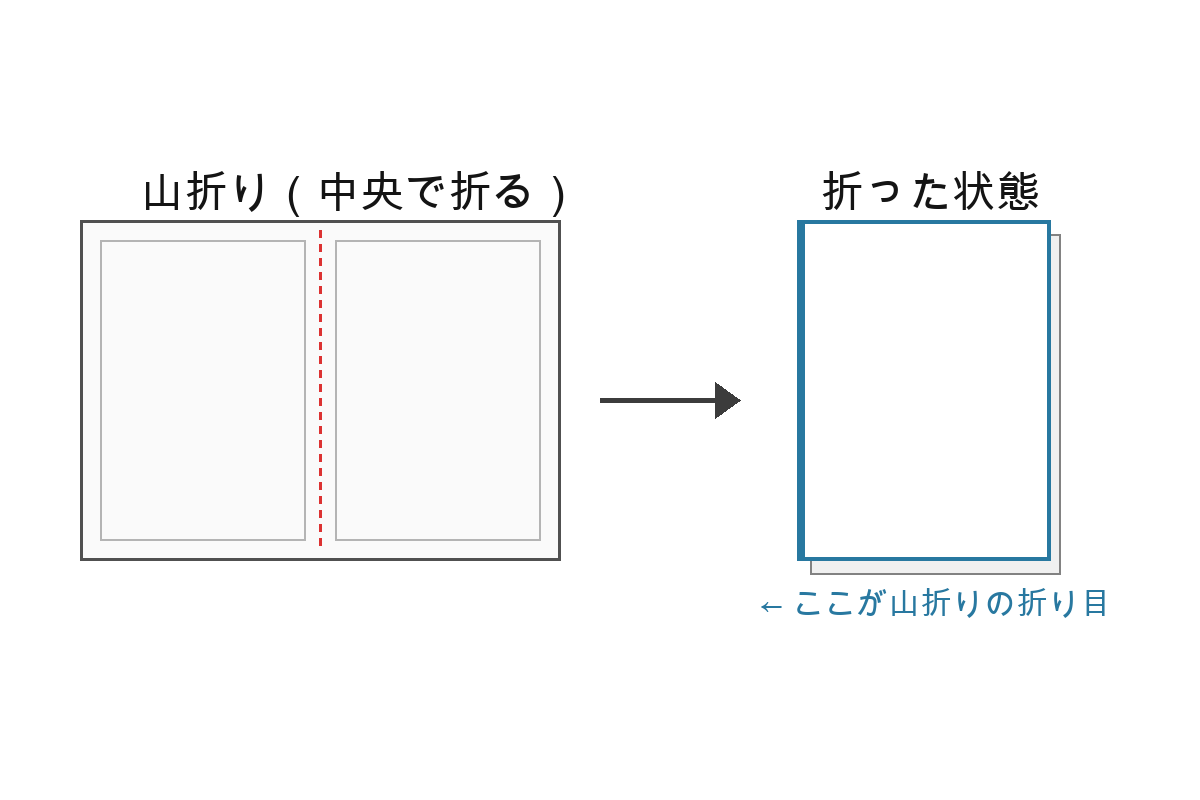
Stack the folded sheets in order and staple them along the guide line printed on each sheet edge ("Please staple along this vertical line") to complete your bag-bound itinerary booklet.